The short version
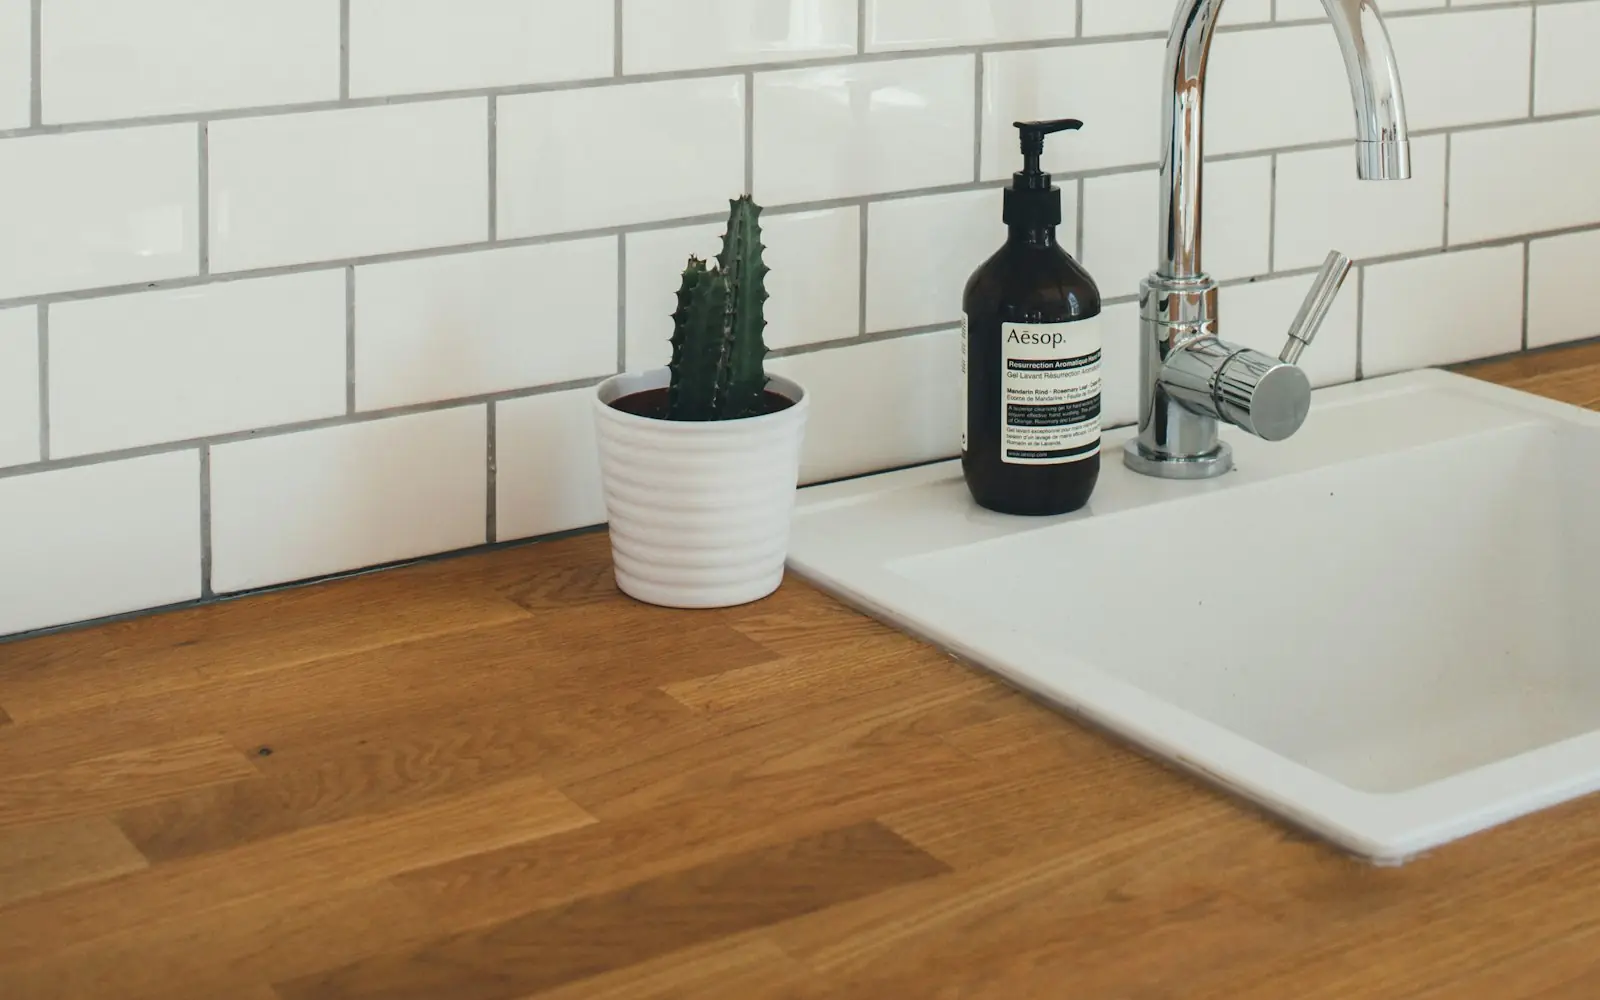
- Good-quality peel-and-stick tile looks surprisingly convincing from a few feet away.
- Wall prep matters: clean, smooth, painted (not fresh) drywall.
- Start with a level line, overlap or butt seams as directed, and cut outlets with a sharp blade.
- Expect 3-7+ years in a kitchen; it's easy to remove when you're ready for the real thing.
In our first house, we had a kitchen with no backsplash and a budget of roughly zero. Peel-and-stick tile was brand new back then, and we took a chance. It wasn't perfect - but for the money, it changed the whole kitchen. Products have come a long way since. Here's how to install it so it looks its best, and our honest take on when it's worth it.
The pros and cons
| Pros | Cons |
|---|---|
| Cheap - often a third of real tile installed | Can look flat up close, especially thin vinyl |
| No grout, mortar or wet saw | Can lift at seams in high heat or humidity |
| A weekend afternoon project | Doesn't add the resale value of real tile |
| Removable - great for renters | Limited heat rating behind gas ranges |
What you'll need
- Peel-and-stick tiles (+10% extra)
- Degreaser and clean cloths
- Level and pencil
- Sharp utility knife + metal ruler
- Small smoothing tool / squeegee
- Screwdriver for outlet covers
How to install a peel-and-stick backsplash
- Prep the wall. Turn off power to the outlets and remove the covers. Degrease the wall, fill holes, sand smooth and make sure any paint has cured at least a few weeks (adhesive can pull fresh paint).
- Snap a level line. Counters are rarely level. Draw a level reference line and start your first row from it, trimming the bottom edge to fit the counter if needed.
- Dry-fit your layout. Start in the most visible spot - usually centered behind the range or sink - so cut pieces end up in corners.
- Peel a little at a time. Peel back a few inches of backing, align the tile, press, then peel the rest as you smooth from the center outward.
- Match the pattern at seams. Overlap or butt joints as the manufacturer directs.
- Cut around outlets. Hold the tile in place, mark the box corners and cut with a fresh blade. Extended outlet screws let the covers sit flush.
- Seal the edges. A thin bead of clear or matching caulk along the counter and ends keeps moisture out.
Change your utility knife blade often. A dull blade tears the vinyl and leaves fuzzy edges.
How ours held up
Our first peel-and-stick backsplash lasted about five years before a couple of seams near the sink started lifting. A dab of construction adhesive fixed those. When we sold the house, buyers didn't notice it wasn't real until they touched it. For a starter kitchen, a rental or a "get us through the next few years" fix, I'd do it again in a heartbeat.
Budget it out
DIY Project Budget Planner
| Item | Qty | Unit price |
|---|
Your list saves automatically in this browser. Nothing is sent anywhere.
Pair it with freshly painted cabinets and you've got a whole new kitchen for a few hundred dollars. Doing a bathroom instead? See how we painted our grout.
Peel-and-stick vs. real tile at a glance
| Peel-and-stick | Ceramic subway tile | |
|---|---|---|
| Typical DIY cost (30 sq ft) | $100-$300 | $200-$500 + tools |
| Time | An afternoon | A weekend (plus grout cure) |
| Skill level | Beginner | Intermediate |
| Lifespan in a kitchen | 3-7+ years | Decades |
| Removable | Yes | No |
When we'd choose real tile
If it's your forever kitchen, if you're selling soon and want to maximize value, or if the backsplash is behind a gas range, we'd go with real tile. Subway tile is very DIY-friendly once you have a tile saw (rent one), and grout lines can always be refreshed later with grout paint.
Frequently asked questions
Does peel-and-stick backsplash look cheap?
Thin vinyl sheets can, but thicker gel or 'smart' tiles with dimensional grout lines look convincing, especially in subway and marble patterns. Order samples and look at them in your kitchen light.
Can you put peel-and-stick tile behind a stove?
Check the manufacturer's rating. Many are fine behind electric ranges with a few inches of clearance; avoid putting them directly behind gas burners.
How do you remove peel-and-stick backsplash?
Warm the tiles with a hair dryer and peel slowly at a low angle. Remove any leftover adhesive with an adhesive remover, then repair and repaint the wall if needed.
Can you install peel-and-stick tile over existing tile?
Yes, if the existing tile is smooth and flat with shallow grout lines. Deeply textured or wide grout lines will show through.